
Last updated October 30, 2026
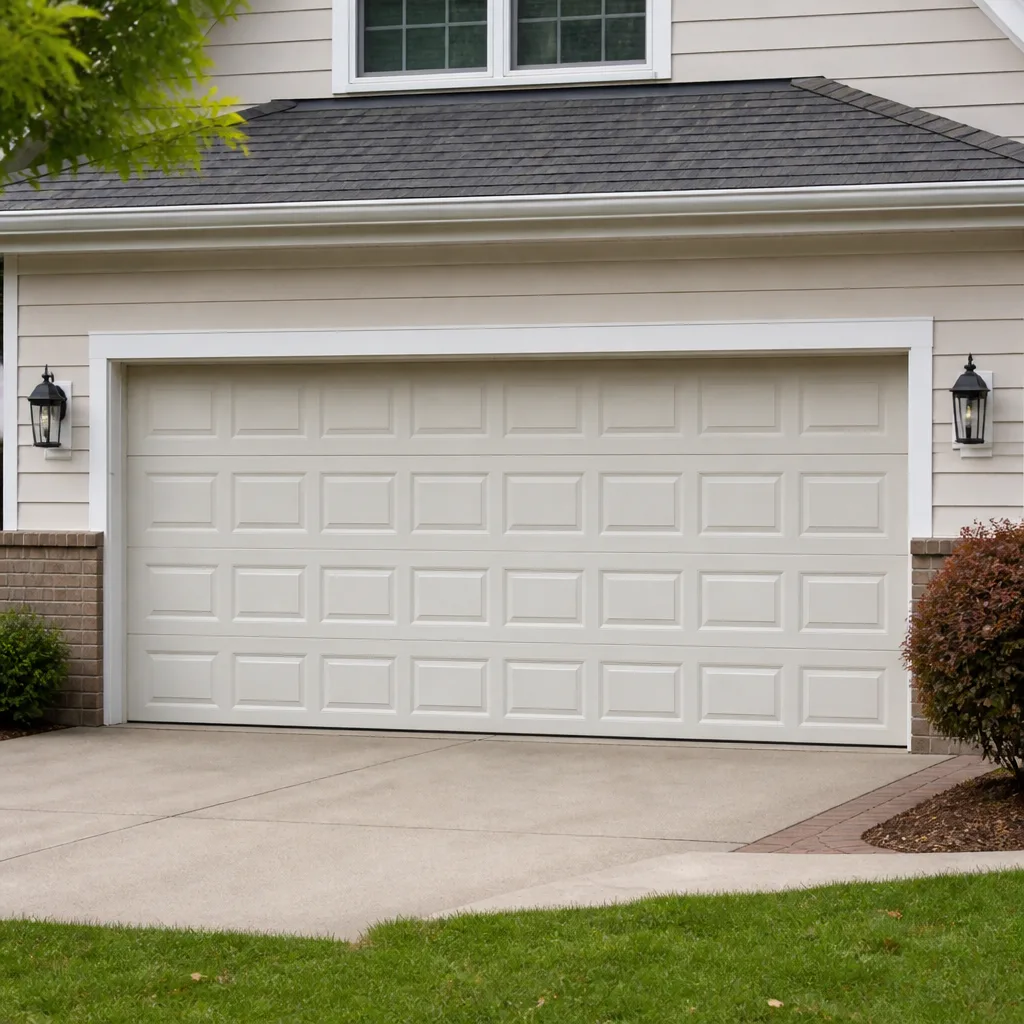 Raised-panel steel
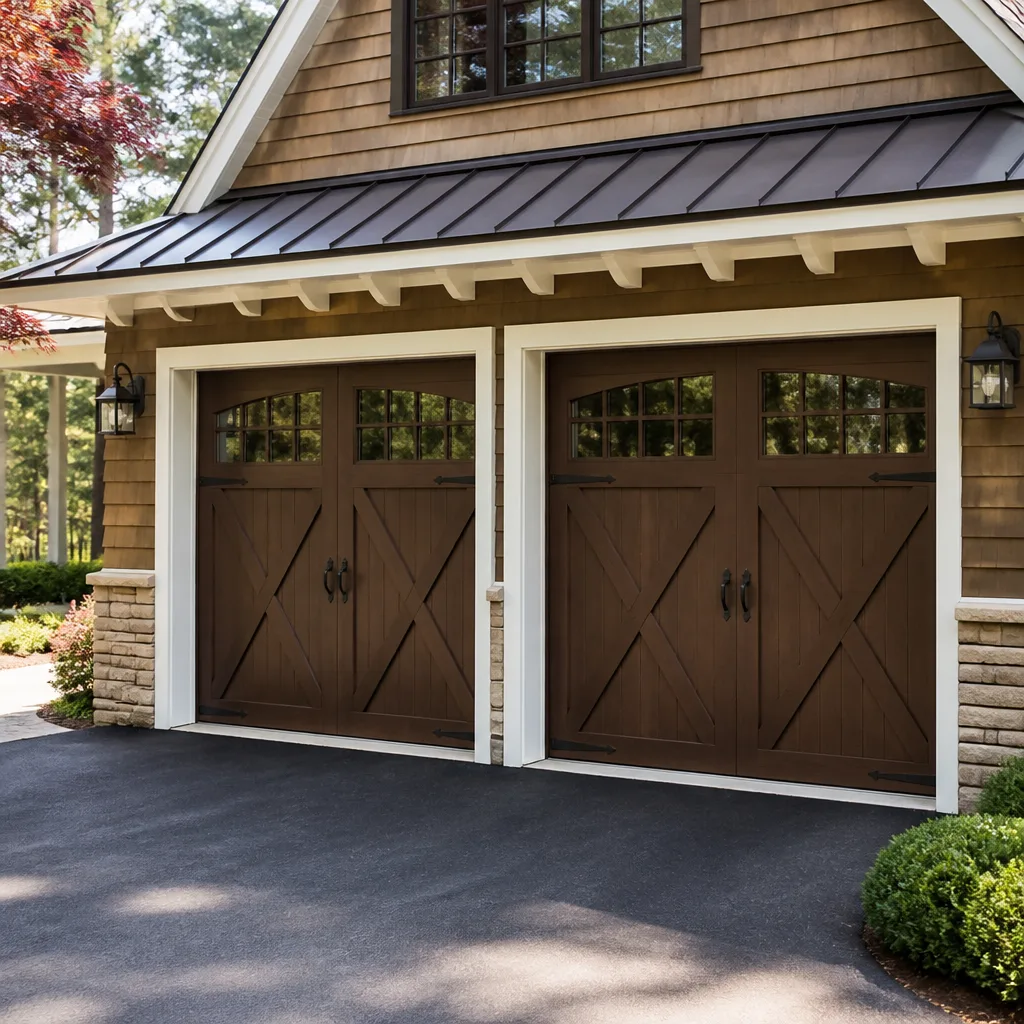 Carriage house
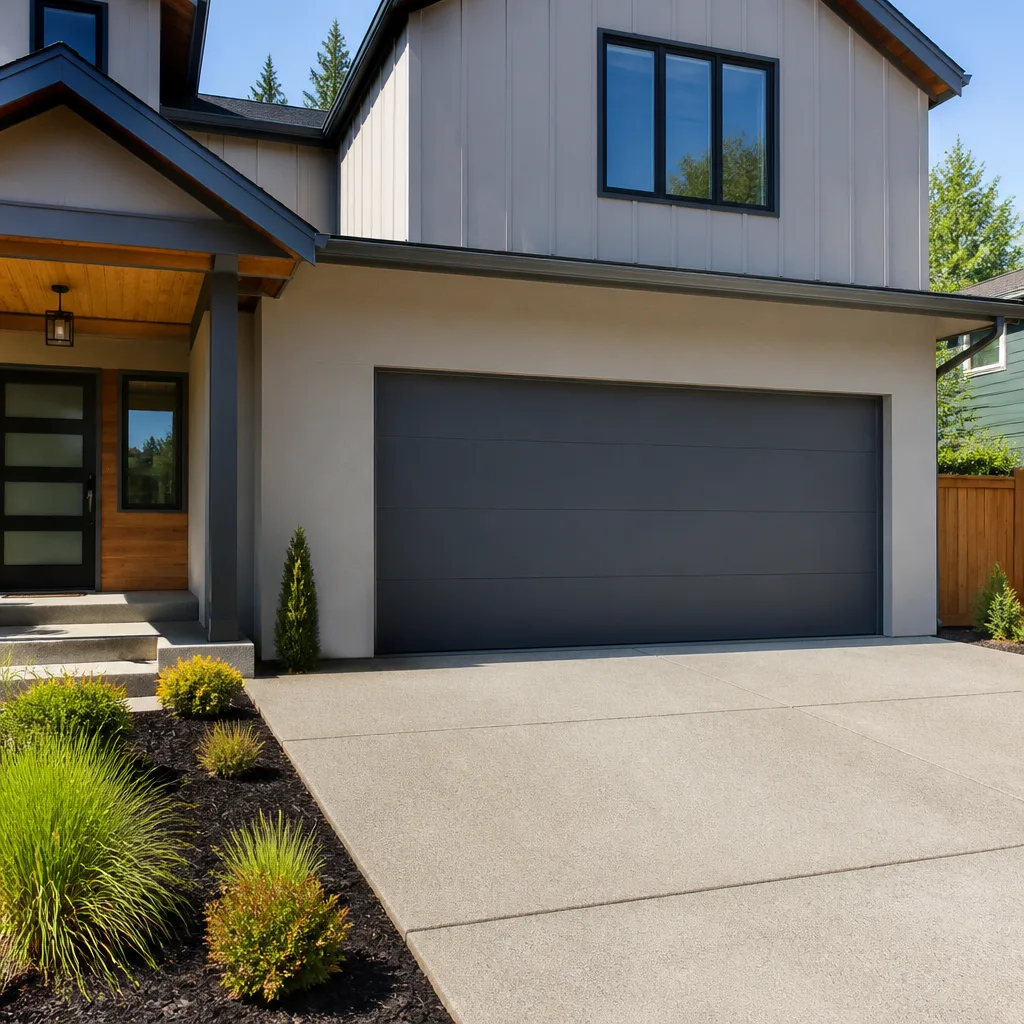 Modern flush
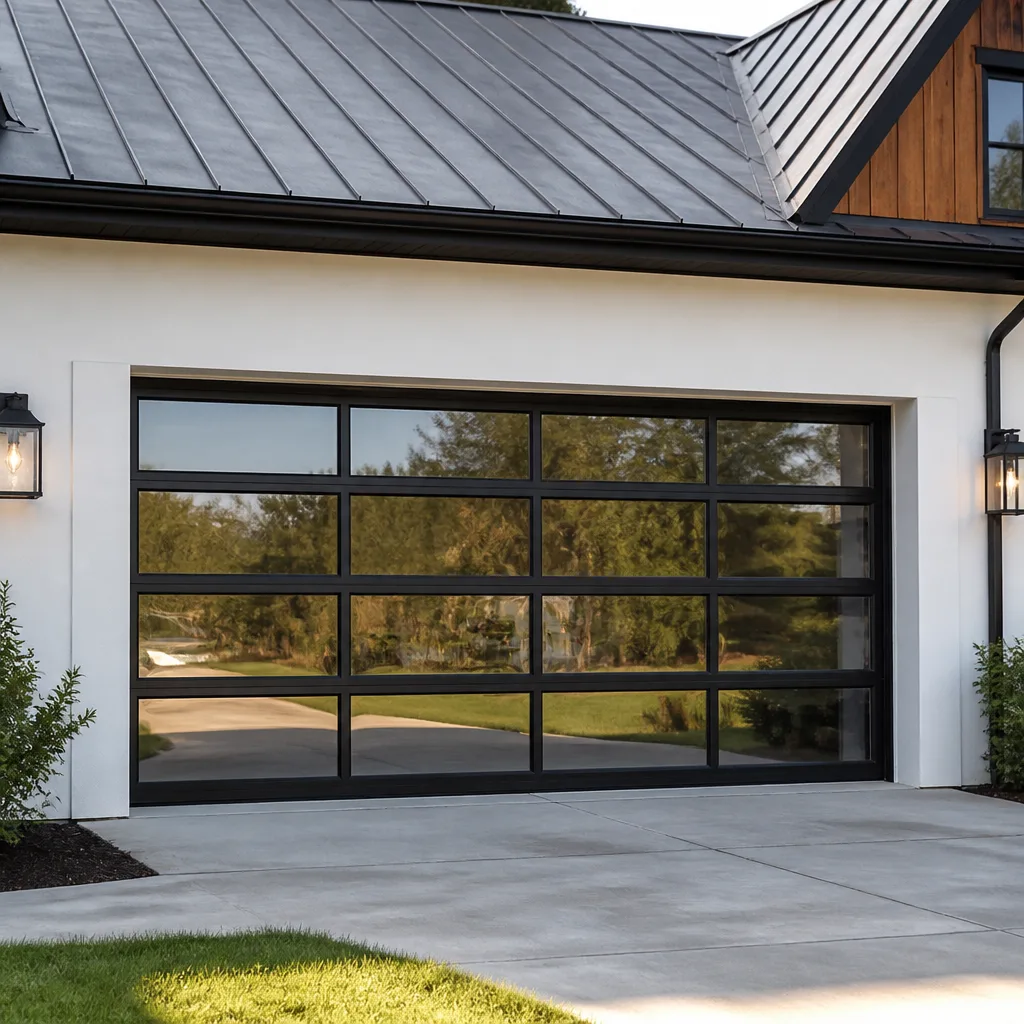 Full-view glass
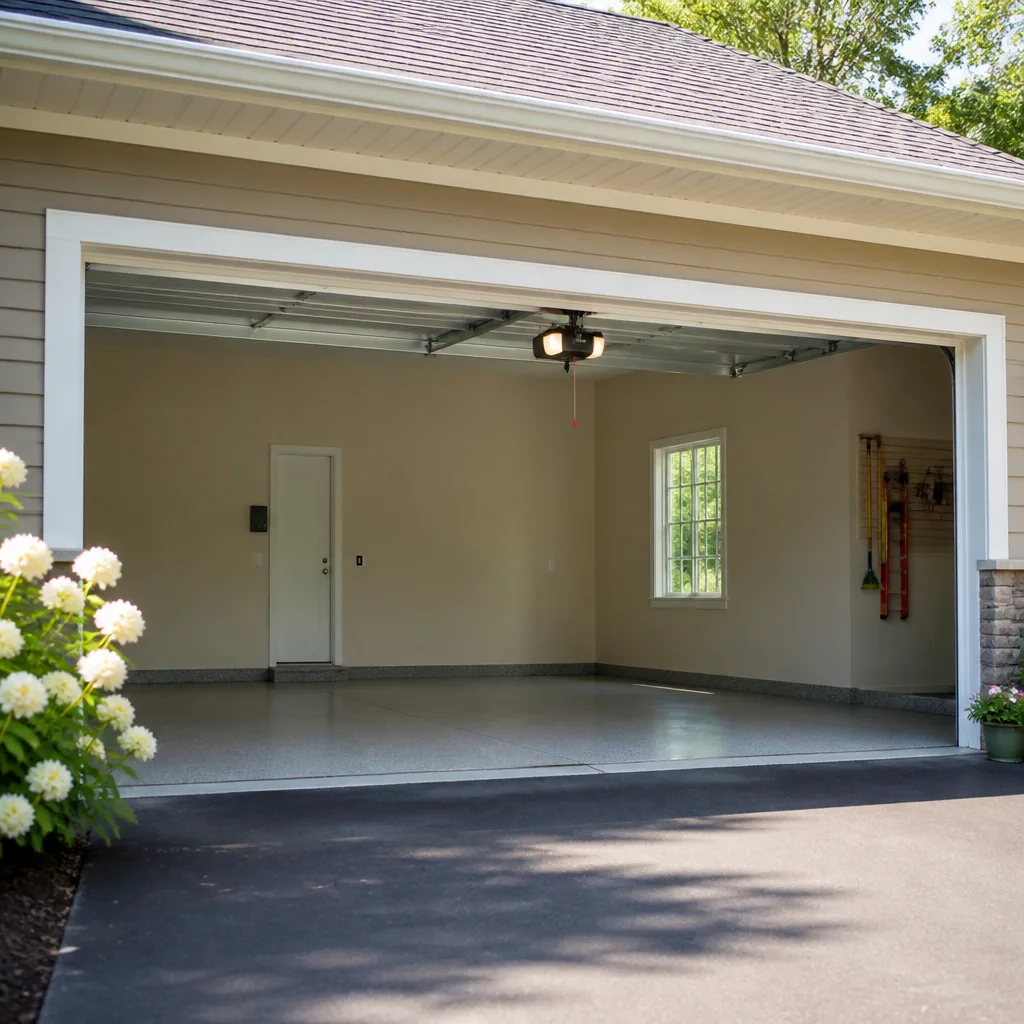 LiftMaster openers
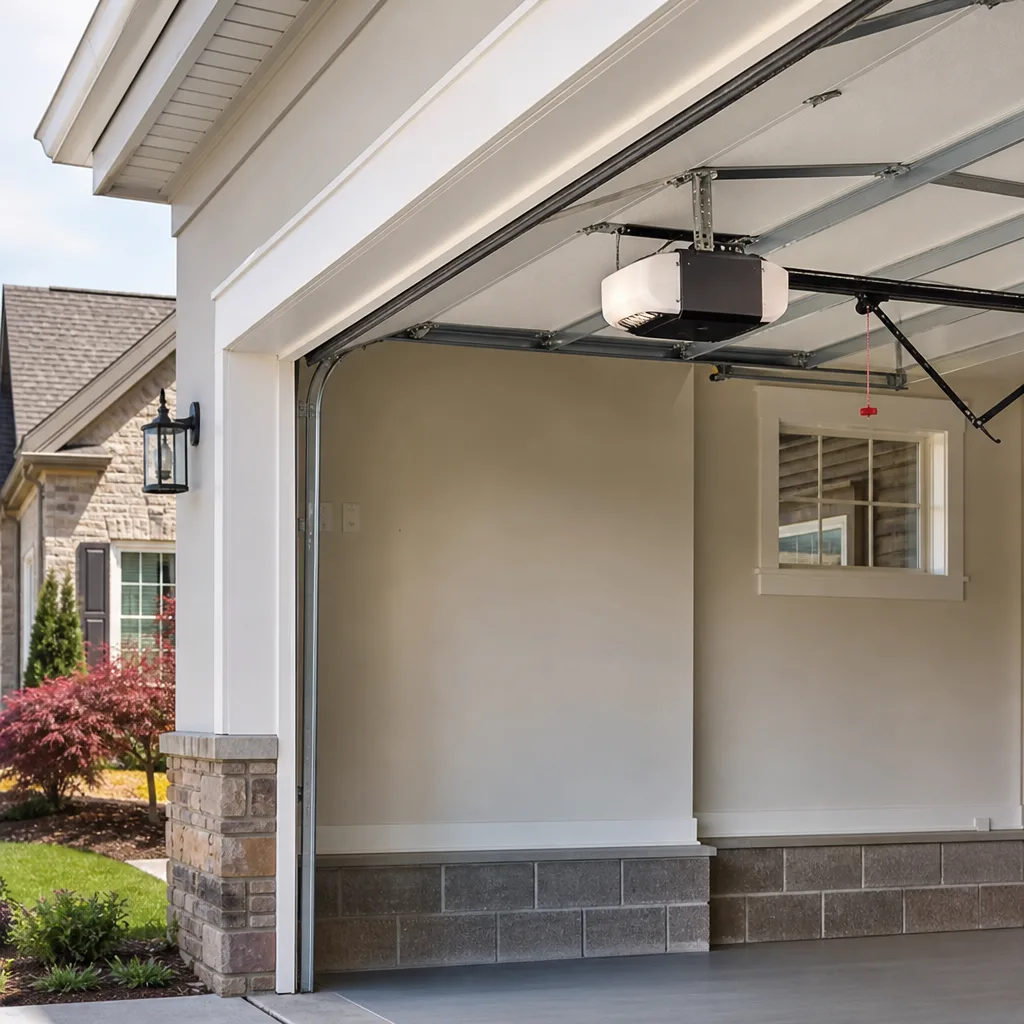 Chamberlain openers
Full 25-point door and opener safety check with every visit - springs, cables, rollers, tracks, and your LiftMaster or Chamberlain opener included
You get a price before we start. It does not change when the truck arrives.
Get your free estimateGarage Door Repair Troubleshooting: Common Problems and How to Fix Them
A garage door that reverses before hitting the ground is almost never a sensor problem, yet sensor cleaning is the first thing every forum thread recommends. In most cases, the real culprit is a misadjusted close-force limit on the opener. That disconnect between what homeowners think is wrong and what’s actually failing is why our Garage Door Repair services in Alief often start with correcting misdiagnoses that have already cost homeowners time and money. This guide teaches you system-level diagnosis: learning to isolate whether the fault lives in the mechanical components (springs, cables, tracks, rollers) or the electrical side (logic board, sensors, wiring), so you stop replacing parts on a guess and start fixing the one component that’s actually failing.
Quick Answer
Garage door troubleshooting starts with one question: is the problem mechanical or electrical? Mechanical failures announce themselves through sound and visible wear (grinding rollers, frayed cables, a door that hangs crooked), while electrical failures show up as intermittent behavior, error codes, or a door that refuses to respond consistently. Most DIY repairs fail because homeowners fix the symptom they can see instead of the system that caused it. This guide walks through the fault-isolation method our technicians use in Alief every day, plus the three sounds that pinpoint specific failures, how to safely check spring tension without touching the springs, and why brand-specific error codes matter more than most people realize. For Garage Door Warning Signs: A Alief Homeowner’s Reference Guide, see our companion resource.
Styles & brands we work with
Table of Contents
- Mechanical vs. Electrical: The First Diagnostic Split
- The Three Sounds Your Garage Door Makes and What Each One Means
- How to Test Spring Tension Without Touching the Springs
- Opener Error Codes: Why Chamberlain and LiftMaster Codes Differ
- When a ‘Fixed’ Door Is Masking a Structural Problem
- Step-by-Step Troubleshooting: A Systematic Approach
- Common Mistakes to Avoid
- When to Call a Professional
Mechanical vs. Electrical: The First Diagnostic Split
Every garage door problem falls into one of two categories, and knowing which one you’re dealing with saves you hours of frustration. In Alief, where summer heat accelerates metal fatigue and humidity causes rollers to degrade faster than in drier climates, we see a fairly even split between the two failure types across the hundreds of doors we inspect each year.
Mechanical failures involve anything that physically moves or bears load: the springs, cables, tracks, rollers, hinges, and the door panels themselves. These parts wear predictably over time. A torsion spring rated for 10,000 cycles will fail at roughly that mark whether it’s installed in a garage in Alief or anywhere else in Texas. Mechanical problems announce themselves through sound, visible wear, or a door that looks wrong when it moves: tilting side to side, hesitating at certain points in the track, or sagging visibly when open.
Electrical failures live in the opener unit and its peripheral components: the logic board, the motor, the safety sensors at the base of the door, the wall control panel, and the wiring that connects everything. Electrical problems are less predictable. They can appear suddenly with no prior warning, and they often mimic mechanical symptoms. A door that only opens halfway could be a broken spring, but it could also be a failing capacitor on a LiftMaster opener’s motor circuit. Intermittent behavior is the classic electrical tell: a door that works fine for two days, then refuses to close for an hour, then works again is almost certainly an electrical issue, not a mechanical one.
The fastest way to make the split is to disengage the opener and operate the door by hand. Pull the red emergency release cord (usually hanging from the trolley) and try lifting the door manually. Here’s what you’ll learn:
- Door is heavy, binds, or won’t lift by hand: mechanical problem. Springs, cables, rollers, or track alignment.
- Door moves smoothly by hand but won’t move with the opener engaged: electrical problem. Opener, sensors, logic board, or wiring.
- Door feels unbalanced, like it wants to drop on one side: mechanical problem, usually spring or cable related.
This single test takes 30 seconds and saves our Alief customers the cost of a service call they didn’t need, or prevents them from ordering an opener motor when their springs were shot. It’s the foundation of the fault-isolation method we use at Falcon Garage Door Repair on every diagnostic visit, whether we’re working on a garage door opener repair in Brookside Village or a full Falcon Garage Door Repair home service call.
The Three Sounds Your Garage Door Makes and What Each One Means
Before you reach for a wrench, close your eyes and listen. The sound a garage door makes during operation is the single most underused diagnostic tool in troubleshooting, and it works because each component produces a distinct acoustic signature when it’s failing. In our experience across Alief neighborhoods, sound-based diagnosis gets us to the root cause faster than any visual inspection.
Sound 1: Grinding or Metallic Scraping
A grinding noise that follows the door as it moves along the track points to one of two things: either the rollers are shot, or the track itself has been knocked out of alignment and the rollers are scraping against the side of it. Nylon rollers wear down over time. When the nylon layer wears through to the steel bearing inside, the roller grinds against the track with a sound like a dull knife on a sharpening stone. Alief’s humidity accelerates roller wear, so we see this particular sound a lot on doors that are five to seven years old.
The fix for grinding is straightforward: replace the rollers, or realign the track if the scraping is accompanied by visible gaps between the roller and the track wall. You can check roller condition visually by looking for flat spots or visible steel through the nylon coating, but don’t attempt to replace rollers on a door with a torsion spring system without knowing exactly how to release the tension safely. That’s where this crosses from a DIY fix into professional territory, and the risk isn’t worth it.
Sound 2: Squealing or High-Pitched Whining
A squeal that starts when the door begins moving and stops when it stops is almost always a bearing issue. The specific bearing can vary: it might be the end bearings on the torsion bar, the rollers themselves if they’ve lost lubrication, or the motor bearings in the opener unit. A high-pitched whine that’s constant while the motor runs but isn’t tied to door movement points to the opener motor itself.
A spray lubricant on the torsion bar bearings and roller stems will quiet a squeal temporarily, but if the noise comes back within a few weeks, the bearing is worn beyond what lubrication can fix. When bearings fail completely, they seize, and that’s when you get the third sound.
Sound 3: Pop, Bang, or Snapping
A single loud bang, like a gunshot, is the sound of a torsion spring breaking under tension. If you hear this sound, the door will suddenly feel impossibly heavy when you try to lift it by hand, and the opener will barely be able to move it. This is the one sound that means: stop using the door immediately. A broken torsion spring carries stored energy, and the remaining intact spring (most doors have two) is now carrying a load it wasn’t designed for alone. Continued operation with one broken spring will damage the opener motor by forcing it to work against the full weight of the door.
Do not attempt to replace a torsion spring yourself. The springs on a standard residential door hold enough tension to cause serious injury if released improperly. This is the one repair where we tell every Alief homeowner the same thing: call a professional. The cost of a spring replacement is a fraction of what an emergency room visit runs.
How to Test Spring Tension Without Touching the Springs
You can assess whether your springs are doing their job without ever putting a hand on them. This is a visual and operational checklist we teach to every Alief homeowner who asks us how to know if their springs are failing before they break catastrophically.
The balance test. Disengage the opener with the emergency release cord, then manually lift the door to chest height and let go. A properly tensioned door will stay in place or drift very slightly down. A door that drops quickly has weak or broken springs. A door that shoots upward has springs that are over-tensioned, which is just as damaging because it puts constant upward pressure on the system.
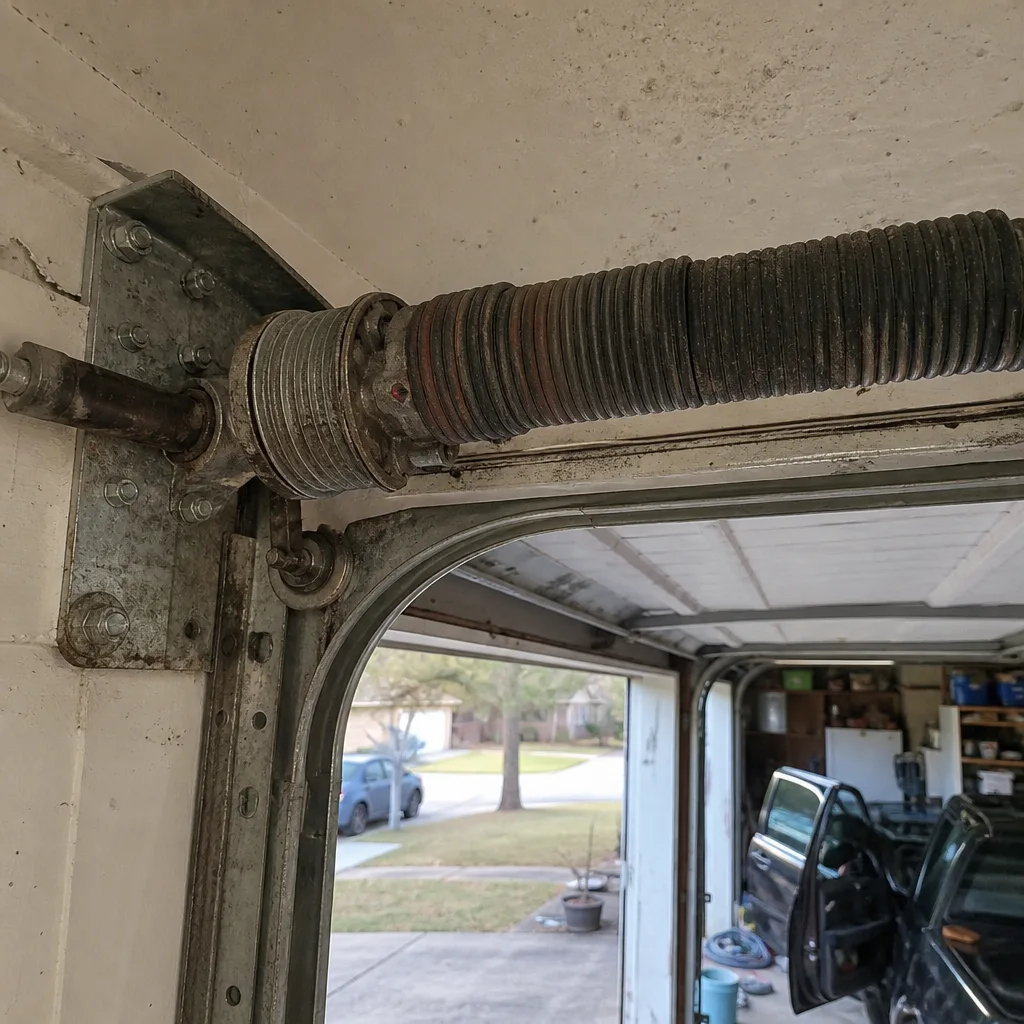
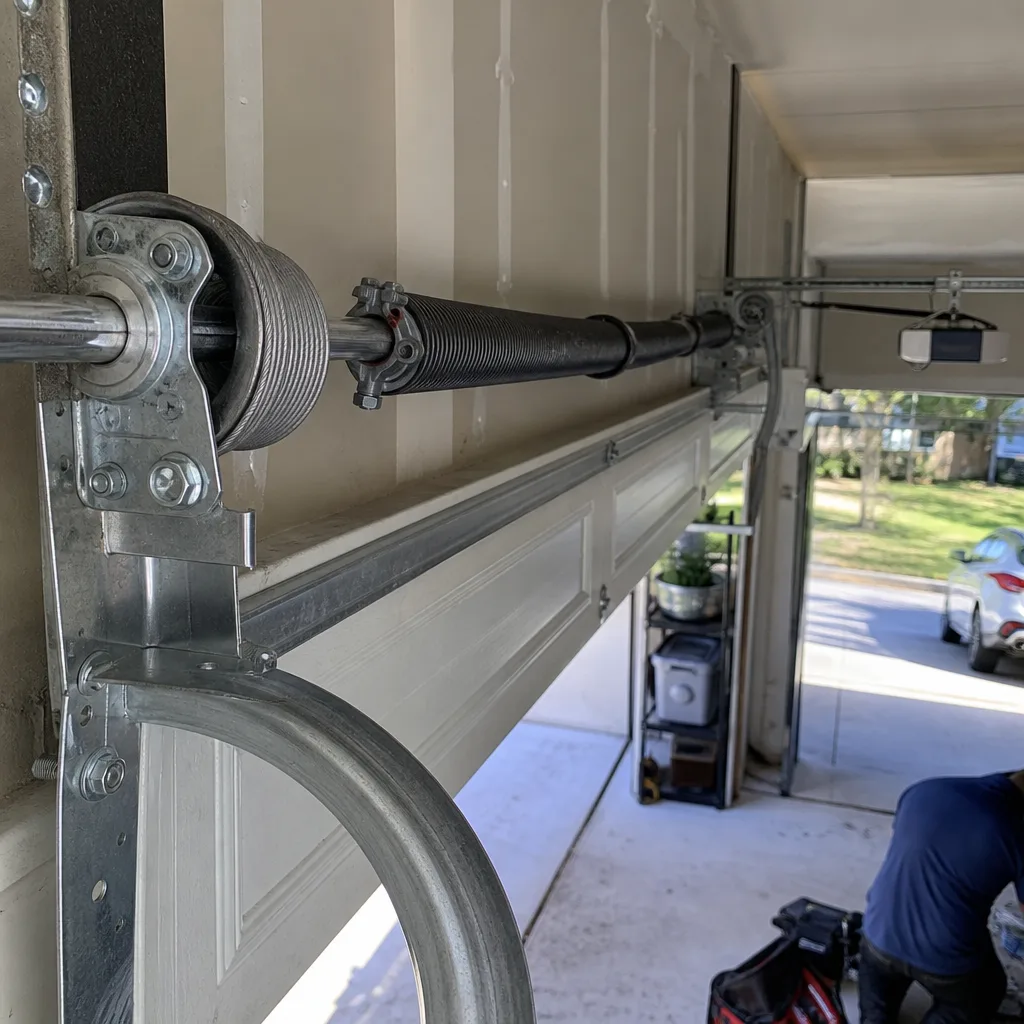
The visual inspection. Look at the torsion spring coils mounted above the door. A healthy spring has uniform, evenly spaced coils with no visible gaps. A failing spring will show one of three things: a visible crack across the coil, a section where the coils have separated or stretched unevenly, or rust that has begun pitting the metal surface. In Alief’s humid climate, rust-induced spring failure is the most common cause of what would otherwise be a premature break. A spring with significant surface rust is a spring on borrowed time.
The cycle count. Standard torsion springs are rated for about 10,000 cycles, which translates to roughly 7 to 10 years of normal use for an Alief homeowner who opens and closes their garage door three or four times a day. If your springs are past that age and you’re noticing the door feeling heavier than it used to, that’s your answer. They’re done even if they haven’t snapped yet.
The sound test, revisited. A spring that’s losing tension will often produce a subtle creaking noise as the door moves, caused by the coils shifting against each other. It’s quieter than a full break, but it’s audible if you listen during operation. If you hear creaking coming from the spring area, combined with a door that’s starting to droop in its balance test, you’ve caught the problem early enough to schedule a replacement before you’re stuck with a door that won’t open at all.
These four checks work whether you have a torsion system with the springs across the top or an extension system with springs along the side rails. They apply equally to doors from Clopay, Amarr, Wayne Dalton, or Raynor. The physics doesn’t change by brand.
Opener Error Codes: Why Chamberlain and LiftMaster Codes Differ
Here’s a fact most troubleshooting guides skip: your opener’s error codes are not universal. A flashing sequence of lights on a Chamberlain opener means something different than the same sequence on a LiftMaster, even though both brands are manufactured by the same parent company and share many internal components. The firmware is different, and so is the diagnostic language.
Chamberlain openers use the arrows on the back of the motor unit or the diagnostic LED to indicate specific faults. An up arrow flashing once followed by a down arrow flashing once indicates a sensor wire short. An up arrow flashing four times followed by a down arrow flashing six times points to a motor circuit failure. If you don’t know the code, you’re guessing.
LiftMaster openers, particularly the newer models with MyQ connectivity, report codes differently. A LiftMaster that beeps three times and flashes its lights when you try to close it is almost always a sensor alignment or obstruction issue. But a LiftMaster that won’t respond to the remote at all, while the wall button works, points to a logic board failure or a wireless receiver problem. The same symptom on a Chamberlain might point to something entirely different.
Craftsman openers from the 1990s and 2000s are mechanically straightforward but electrically prone to capacitor failures as they age. A Craftsman motor that hums but doesn’t turn is usually a failed start capacitor, a $20 part that’s worth replacing before you consider a new opener. We see this frequently in older Alief homes where the original opener is still hanging on.
Raynor openers and Wayne Dalton drive systems have their own quirks too, often tied to their proprietary rail designs. The point isn’t to memorize every code for every brand; it’s to know that the code only means something in the context of the specific opener that’s flashing it. When we diagnose an opener at Falcon Garage Door Repair, the first thing we do is identify the brand and model, then read the code against that manufacturer’s specific documentation. No dead ends, no guesswork. That’s the difference between a generalist approach and working ongarage door installation in Brookside Village and repair as dedicated specialists.
When a ‘Fixed’ Door Is Masking a Structural Problem
The most expensive repair we see in Alief isn’t the one that got called in. It’s the one that got fixed six months ago, and the real problem underneath has been getting quietly worse the whole time.
A door that’s been adjusted to “fix” a sticking point without addressing why the sticking point developed in the first place is a door wearing a bandaid. Here are the three masking scenarios we see most often:
The opener force setting gets cranked up to overcome a door that’s getting heavier. The symptom was a door that reversed mid-close. The quick fix was to increase the close-force limit. The real problem: the springs are losing tension, making the door effectively heavier, and the opener is now working harder every cycle. That motor will fail prematurely, and the springs are still going to break.
A bent track gets “realigned” without fixing the source of the bend. Tracks get bent for a reason. Usually it’s because the door hit something, or because the door itself is slightly warped and has been pushing against the track for months. If you straighten the track but don’t address the warped panel, the track will bend again. In Alief’s climate, heat-related panel warping on west-facing garage doors is common enough that we look for it automatically when a track bend seems to have no external cause.
Sensor misalignment gets “fixed” by adjusting the brackets, but the real cause was the track flexing. The sensors sit at the bottom of the track. If the track itself flexes when the door reaches the bottom of its travel, the sensors move out of alignment every single time the door closes. You can realign the sensors a hundred times and they’ll be off again thirty seconds later. The fix is stabilizing the track, not touching the sensors.
The common thread: all three of these “fixes” treated the symptom and left the cause intact. The way to avoid this trap is to ask one question after every repair: why did this component fail in the first place? If you can’t answer that question, you’ve probably bought time, not a fix.
Step-by-Step Troubleshooting: A Systematic Approach
Here’s the sequence we walk through on every diagnostic call in Alief. You can do the first five steps yourself before calling anyone.
- Stand inside the garage and operate the door once, from closed to open, watching and listening. Note any sounds, any hesitation, any uneven movement. Note whether the door stops where it should or over-travels.
- Disengage the opener with the emergency release and run the balance test described earlier. Determine mechanically sound vs. mechanically compromised.
- Inspect the components visually in this order: springs (look for gaps, rust, cracks), cables (look for fraying), rollers (look for wear, flat spots), track (look for gaps, bends, debris), hinges and brackets (look for looseness, cracking).
- Check the door’s balance at half-height and at three-quarter height. A door that’s balanced at one point but not another points to a track issue, not a spring issue.
- Re-engage the opener and test the safety sensors. With the door open, wave something in front of one sensor and try to close. The door should not move. Then test the auto-reverse by placing a small object in the door’s path and closing. The door should reverse immediately on contact.
- Read the opener’s error code if any of the electrical tests fail. Match it against the manufacturer’s specific documentation for your model. If the code points to something you can’t verify, stop and call a specialist.
Steps 1 through 5 are safe for any homeowner and will usually narrow the problem down to a specific subsystem. Step 6 is where you either confirm a diagnosis or realize you’re out of your depth. Either outcome is useful information, and both beat replacing parts at random. Our garage door repair in Brookside Village service uses the same framework, because it works whether the door is a $500 builder-grade unit or a $4,000 Clopay custom installation.
Common Mistakes to Avoid
- Lubricating springs to “fix” a noise problem. Lubrication quiets a symptom but does nothing for a spring that’s lost tension or a bearing that’s seized. You’re buying silence, not function. If lubrication makes the noise go away for less than two weeks, the component is failing.
- Replacing the sensors when the problem is the wiring. Sensors rarely fail entirely. Wiring gets damaged by mice, gets pinched in the track, gets knocked loose by vibration. If both sensors show the same error code, suspect the wire run before the sensors themselves.
- Adjusting the travel limits to fix an auto-reverse problem. The auto-reverse is triggered by either the force sensor or the safety sensors. If the door reverses mid-close, adjust the close-force setting before touching the travel limits. In Alief, where temperature swings cause minor track expansion and contraction, this is one of the most common misdiagnoses we correct.
- Replacing the opener when the springs are broken. A broken spring makes the opener work against the full weight of the door. Within weeks, the motor burns out. Homeowners then replace the opener, only to have the new one fail the same way. Replace the springs first, then evaluate whether the opener actually needs replacement.
- Ignoring a cable that “looks mostly fine.” Garage door cables are under constant tension. A cable with even minor fraying is at the end of its life, and when it snaps under tension, it whips with enough force to cause serious injury. If you see fraying, stop using the door and get the cable replaced.
- Trying to replace a torsion spring after watching a YouTube video. Every year, homeowners end up in emergency rooms attempting this repair. The winding bar technique looks simple on camera, but the torque involved is deadly if a bar slips. This is the one repair we will never recommend as a DIY project, no matter how capable you are.
When to Call a Professional
You’ve done the diagnosis. You’ve run the tests. Here’s where it stops being worth doing yourself: any work involving torsion springs, any cable replacement, any track realignment that requires structural adjustment, any opener logic board replacement, and any situation where the door is stuck in the open or closed position with a compromised spring. The common thread is stored energy or structural load. If the part you’re about to touch is under tension or bearing weight, and you don’t have the training to release that tension safely, you’re making a bad trade. Falcon Garage Door Repair offers free estimates in Alief, and our technicians arrive equipped to work on whatever’s in your garage, whether it’s a LiftMaster opener, a Chamberlain drive unit, or a full Clopay door system. Not sure who to call? Read How to Hire a Garage Door Contractor in Alief: A Step-by-Step Guide before you decide. Call (833) 589-6911 and we’ll tell you what’s wrong, what it costs to fix, and what can wait. The estimate is free, and you’ll know exactly what you’re dealing with before any work starts.
See the difference
 Before
 After
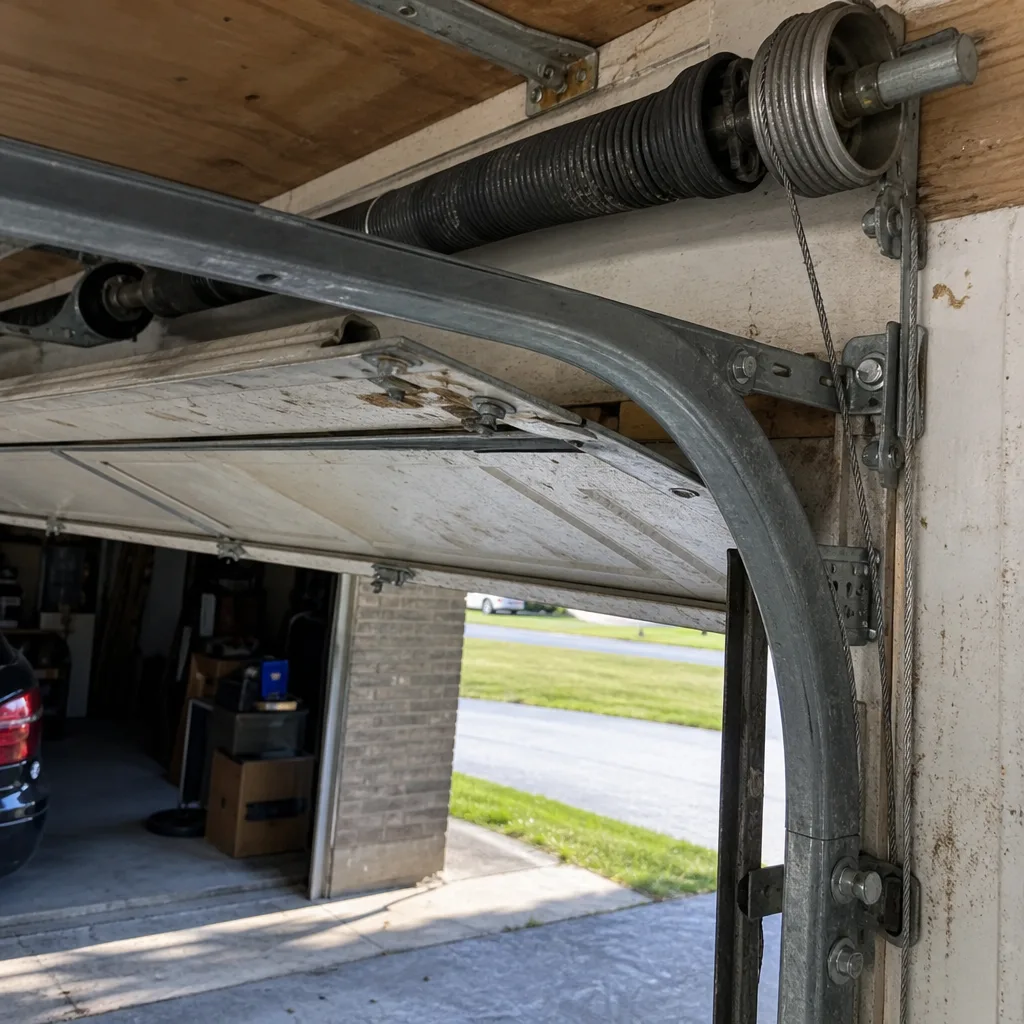 Before
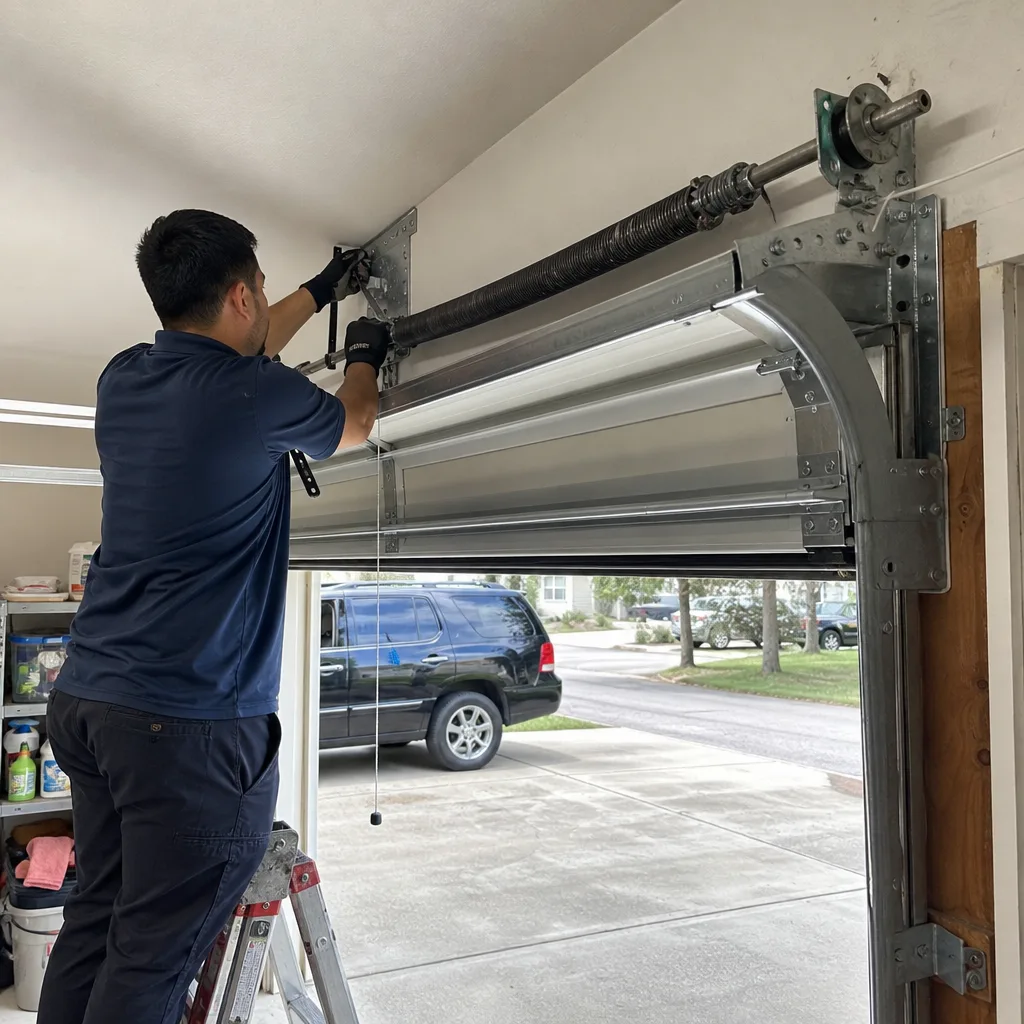 After
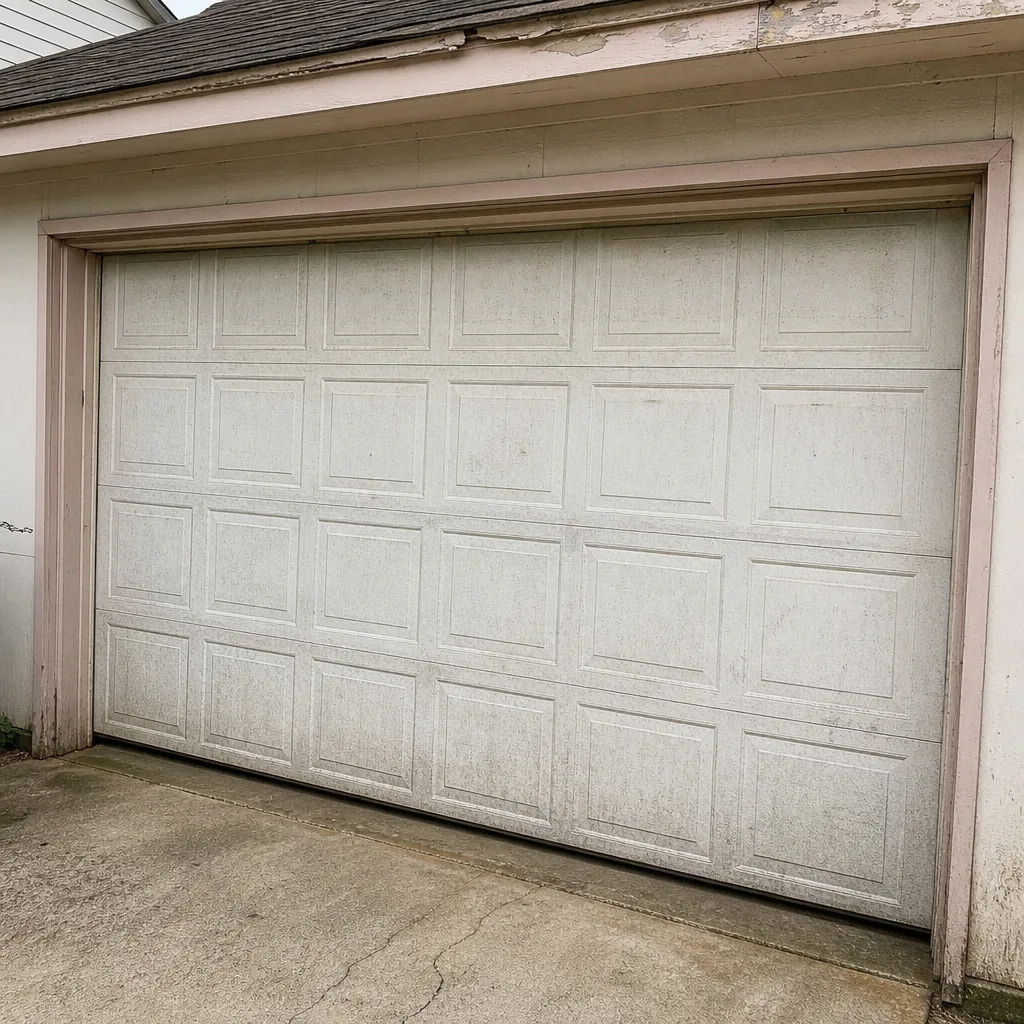 Before
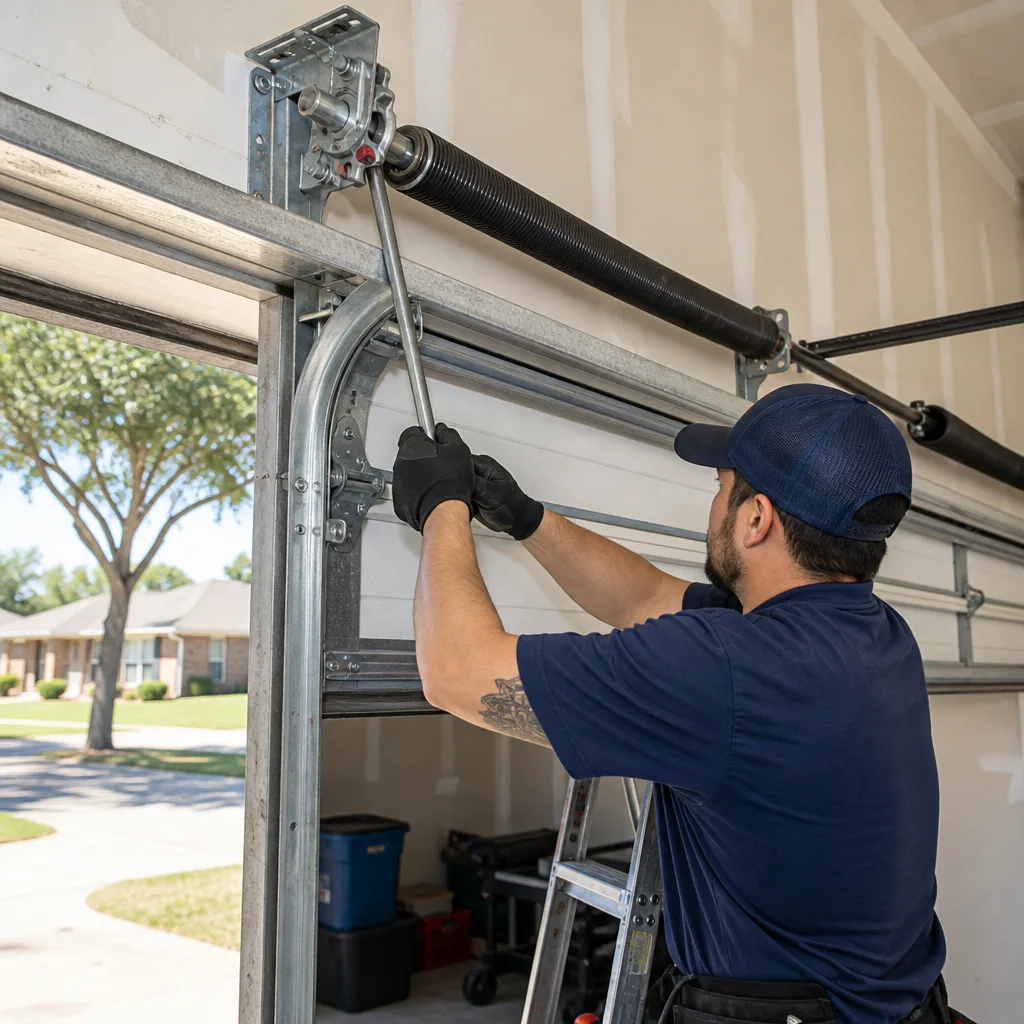 After
Frequently Asked Questions
A garage door that reverses before reaching the ground is almost always caused by a close-force limit set too low or a safety sensor misfiring, not by dirty sensors as commonly assumed. The fix is to adjust the close-force limit on the opener, then verify the safety sensors are aligned and unobstructed. If the problem persists after both adjustments, the logic board may be interpreting a false obstruction signal, which requires professional diagnosis. Call (833) 589-6911 for an exact diagnosis of your specific opener model.
Torsion spring replacement in Alief typically runs $220 to $380 for a pair, including springs and labor, with extension springs running slightly less. The price varies based on the door weight, spring size, and whether you need a standard or high-cycle spring upgrade. Most Alief garages use standard 10,000-cycle springs, but upgrading to 20,000-cycle springs adds roughly $60 to $100 and extends the life significantly. Call (833) 589-6911 for an exact quote on your door, estimates are free.
You can fix certain opener issues yourself: sensor realignment, travel limit adjustment, force setting adjustment, and remote reprogramming are all safe DIY tasks. Anything involving the internal motor, the logic board, the capacitor, or the drive gear requires opening the unit, which voids most warranties and risks electrical shock. If the error code points to an internal component failure, call a professional. That’s cheaper than buying a new opener because the DIY attempt fried the board.
Standard torsion springs last 7 to 10 years in Alief, which translates to roughly 10,000 open-close cycles at normal usage rates. The heat and humidity in Alief don’t directly shorten spring life, but they accelerate rust, which is the primary cause of early spring failure in this area. A spring with visible surface rust at the five-year mark is likely to fail before the seven-year mark.
A banging or popping sound when the door opens is usually caused by a broken torsion spring (single loud bang) or loose track hardware (repeated banging as the door moves). If the sound was a single loud noise followed by the door becoming extremely heavy, it’s a spring. If the banging repeats on every open cycle and the door still moves normally, the track brackets have come loose and are shifting under load. Both are urgent: the first because the door is unsafe to operate, the second because loose tracks will eventually pull away from the wall.
No, a bent track does not require replacing the entire door. In most cases, the track section can be replaced or realigned while keeping the existing door panels, provided the panels themselves are not warped. The exception is when a warped panel caused the track to bend, in which case you’ll need to address the panel first, which usually means replacing that section of the door. Falcon Garage Door Repair will tell you which situation you have before recommending any work.
The Bottom Line
Garage door troubleshooting succeeds or fails based on diagnosis, not effort. The homeowner who cleans sensors for two hours on a door with a bad close-force setting has worked hard and accomplished nothing. The one who takes 30 seconds to disengage the opener and run a balance test has already isolated the problem to the correct subsystem. Noise is information. Error codes are brand-specific. Springs are never a DIY repair, and neither are cables. The goal is to know what’s wrong before you spend money fixing it, and if you can’t determine that with confidence, a free estimate from a specialist who works on your specific brand of door and opener is the most cost-effective next step there is. For more guides & resources, explore our blog.
Written by the team at Falcon Garage Door Repair, serving Alief since 2018.